Forms
Forms menu
The Forms menu lists all the available forms for a mission.

Create New Form Click to Create a general form.
SMS Test Console Click to test form submission via SMS.
Import Standard Forms Click to Import standard forms to the mission. These forms can be edited within the mission.
Form status
Forms have 3 different status:
Live: form is available for enumerators to download and submit responses. Only minor changes to the form are permitted like form name, question title and hints.
Paused: form is not available for enumerators to download and submit responses. Like live status, minor changes are permitted.
Draft: form is not available for enumerators to download and all changes are permitted.
Action icons
For every form in the list, action icons are in the right and work as follows:
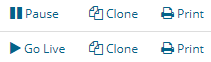
Pause form. Changes the form status to paused.
Go live. Changes the form status to live.
Clone. Click to create an identical copy of the form.
Print. Click to print the form.
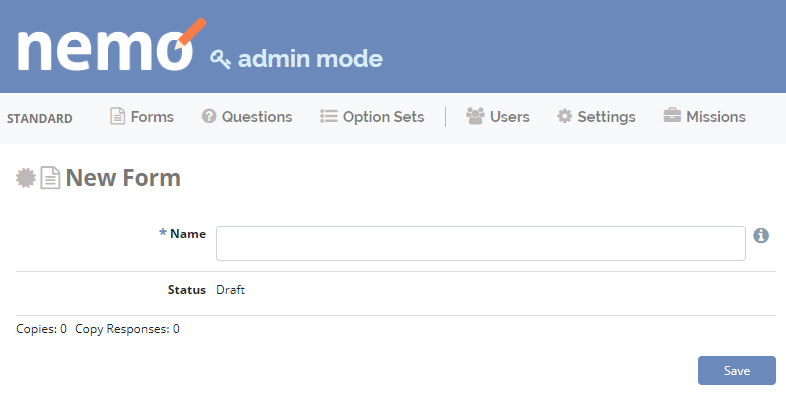
Create a general form
To create a new Form:
Click Forms menu.
Click Create New Form.
Type a name for the form in the text box.
To add questions to the Form:
Click + Add Questions.
Select from existing questions in the question bank.
Or create a new question to add to the Form (see Questions section below for detailed instructions).
Click Save when finished editing.
Form settings:
By clicking on More Settings you can:
Set a Default Response Name for the form:
Text entered here will be used as the default name of filled forms in ODK Collect only (it is not reflected in NEMO OData.) By default, the response name will be the title of the form.
You can enter $QuestionCode to include the value of a question in the form.
For example, entering: Survey for $VillageNum-$Household
might name the form: Survey for 7-Smith
This assumes you have questions with codes ‘VillageNum’ and ‘Household’.
You can also enter an XPath calculate expression by wrapping it with calc(): calc($VillageNum + 100 div 2)
Check the Allow Incomplete box to allow forms to be submitted without required questions filled in.
Check the SMSable box if you want to be able to receive responses to the form via SMS. For more information check SMSable form.
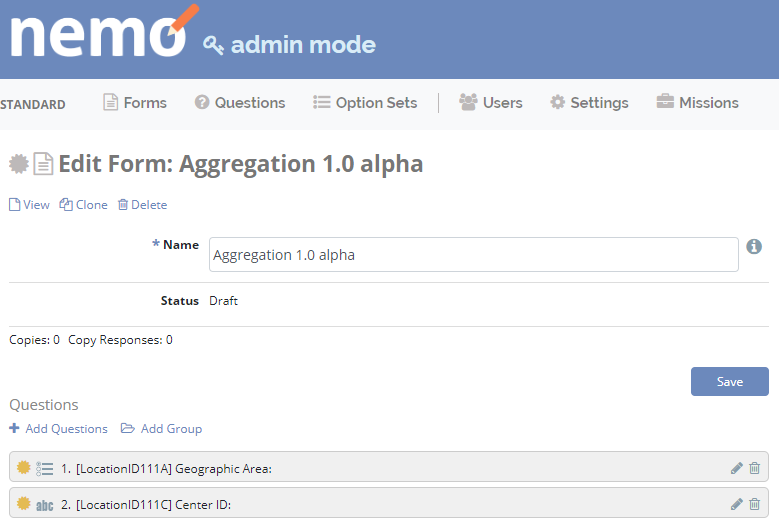
Create a standard form
Forms, questions, and option sets created in Admin Mode can be reused in multiple missions. If the Admin Mode link does not appear on the screen, permission is not granted to create standard forms.
Click Admin Mode.
Click Forms menu.
Click Create New Form.
Type a name for the form in the text box.
Click Save.
Click + Add Questions to add questions to the form.
To create a group of questions, click Add Group.
Click Save.
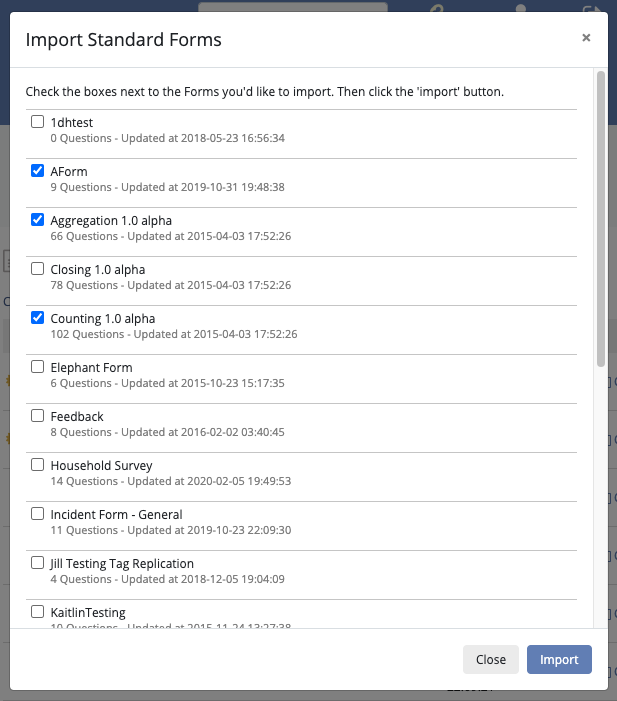
Import standard forms
To import a Standard Form:
Click Forms menu.
Click Import Standard Forms.
Check the boxes next to the forms you want to import.
Click Import.
Create groups and grids
Groups
Grouping questions by context makes it easier for users to fill forms. Groups cannot be placed within questions or other groups.
To create a group:
Create or edit an existing form.
Create or add questions to the form.
Create at least one group.
Click Add Group.
Give the group a unique name.
If you want to make the group of questions repeatable, check the box Repeatable?. Example: if entering details of multiple family members in a household.
If you want to show the group of questions in the same screen in ODK Collect, check Show on One Screen.
Choose the Display Logic.
Always display this group.
Display this group if all of these conditions are met.
Display this group if any of these conditions are met.
Click Save.
Click and drag the questions in the desired order of appearance.
Click and drag groups in the desired order of appearance.
Drag questions intended for groups to the right so that they appear indented in relation to the group.
Click Save to save the form, or click Save and Go Live if the form is ready to be used.
Grids
Groups can be used to create grids in ODK Collect, example:
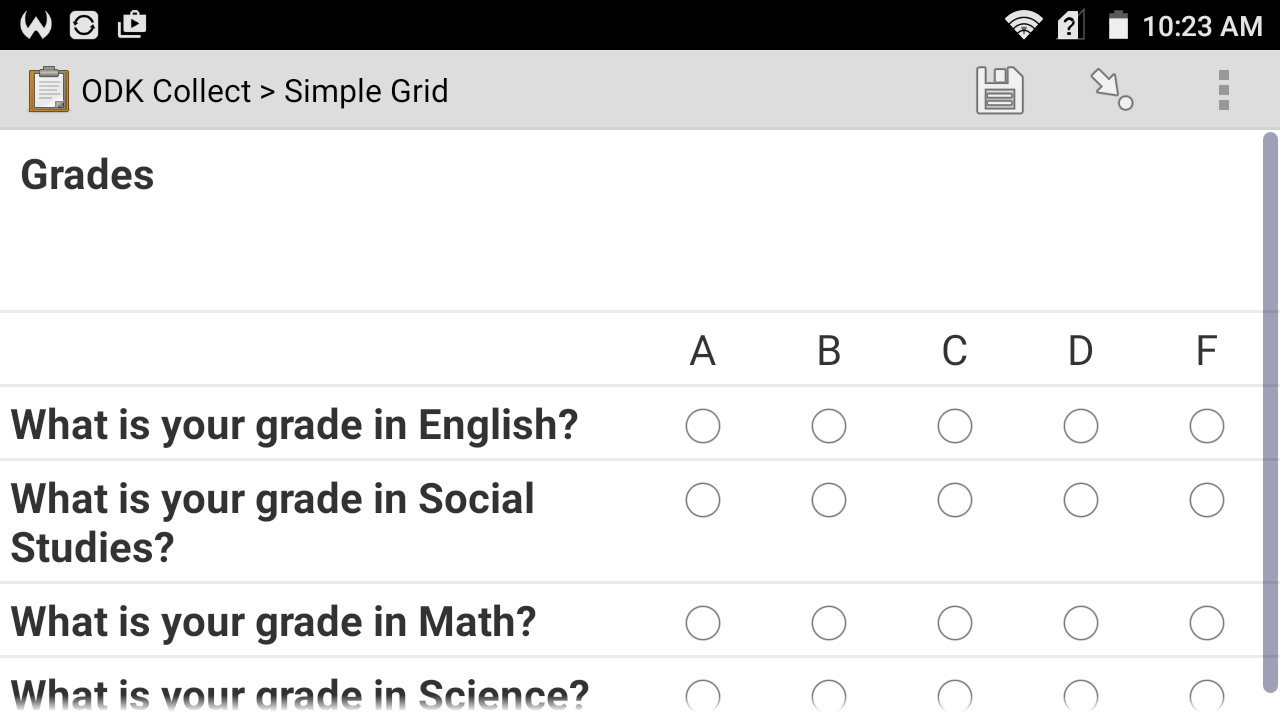
Note
Grids can only be created under certain conditions:
Questions must be in the same group.
Questions must be of Select One type.
Questions must have the same option set.
To create a grid:
Create or edit an existing form.
Create or edit an existing group.
Place Select One questions with the same option set in the group.
Click Save to save the form, or click Save and Go Live if the form is ready to be used.
² Go live ——-
Once a form has been created, it must go live before users can submit responses. you can do so when editing a form by:
Clicking Go Live on the top of the screen.
Or clicking Save and Go Live button.
You can also Go Live from the forms list menu by clicking Go Live:
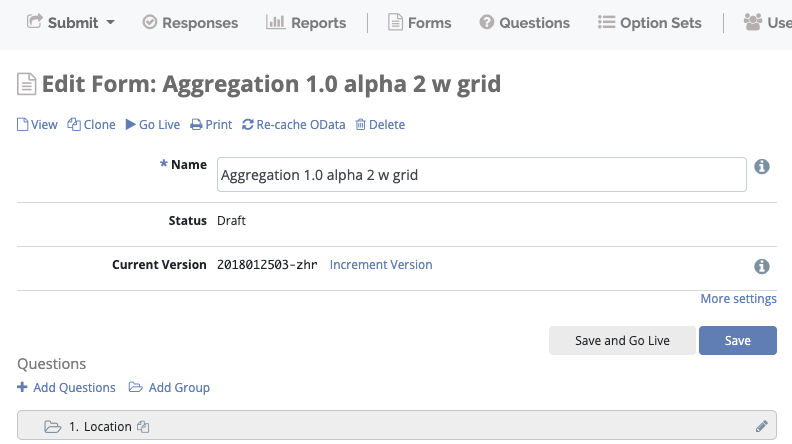
Form version
Each form version has a 10 digit ID and a 3 letters code (example: 2019092500-oyt). The form versioning system is intended to indicate small changes in the form design so that enumerators can update their copies of the form.
When editing a form, click Increment Version to increment the form version.

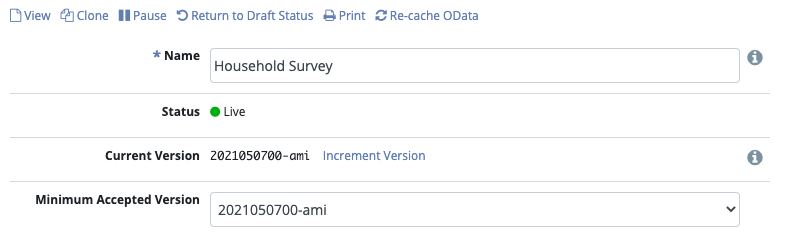
You can also choose the minimum accepted version of the form, to do so click More settings then Minimum Accepted Version
Print form
To print a hardcopy of a form:
Click Forms menu.
Select a form from the list.
Click Print.
A dialog will show up saying that you need to activate background colors and images. Click OK then activate these in your system/browser print options.